Here are the simple steps I use to find brighter galaxies with a stock Rebel T7 camera and a 75-300 kit lens. You will need a camera, a tripod, and a phone with a few installed apps. To use this method, having a phone with an internet connection could come in handy.
Get the apps
Canon Camera Connect – Used for connecting to the camera and controlling it mostly hands free.
Sky Map – Sky Map is an app is used for locating objects in the night sky. With the phones GPS turned on it will show the night sky from your current location. When searching for an object, the app will direct you to it.
Stellarium – This app also is used to locate objects in the night sky. This works like Sky Map, but I prefer Sky Map because I feel it is easier to use. Stellarium does have a desktop program which is great for planning your night out and I do use it all the time.
Astrospheric – This app will show you the cloud cover from your location. Astrospheric is not a necessity but it does help to plan out the night.
Setting up
Turn on the GPS of your phone. Load your preferred star map app. Search for the galaxy you want to photograph. I will use m81 for example.

Follow the arrow until you find your target. Now find a nice flat place to set up your tripod where there is a clear view of that section of night sky. Attract your camera and line it up close to the area that your app is saying the galaxy is.
Turn on the camera can connect to it using the Cannon Camera Connect App. Zoom out to 75 mm with the 75-300 mm lens. In live view adjust your photos settings. I use an 8-second shutter speed, at the lowest F-stop possible and 6400 ISO. Now you are ready to take your first photograph.
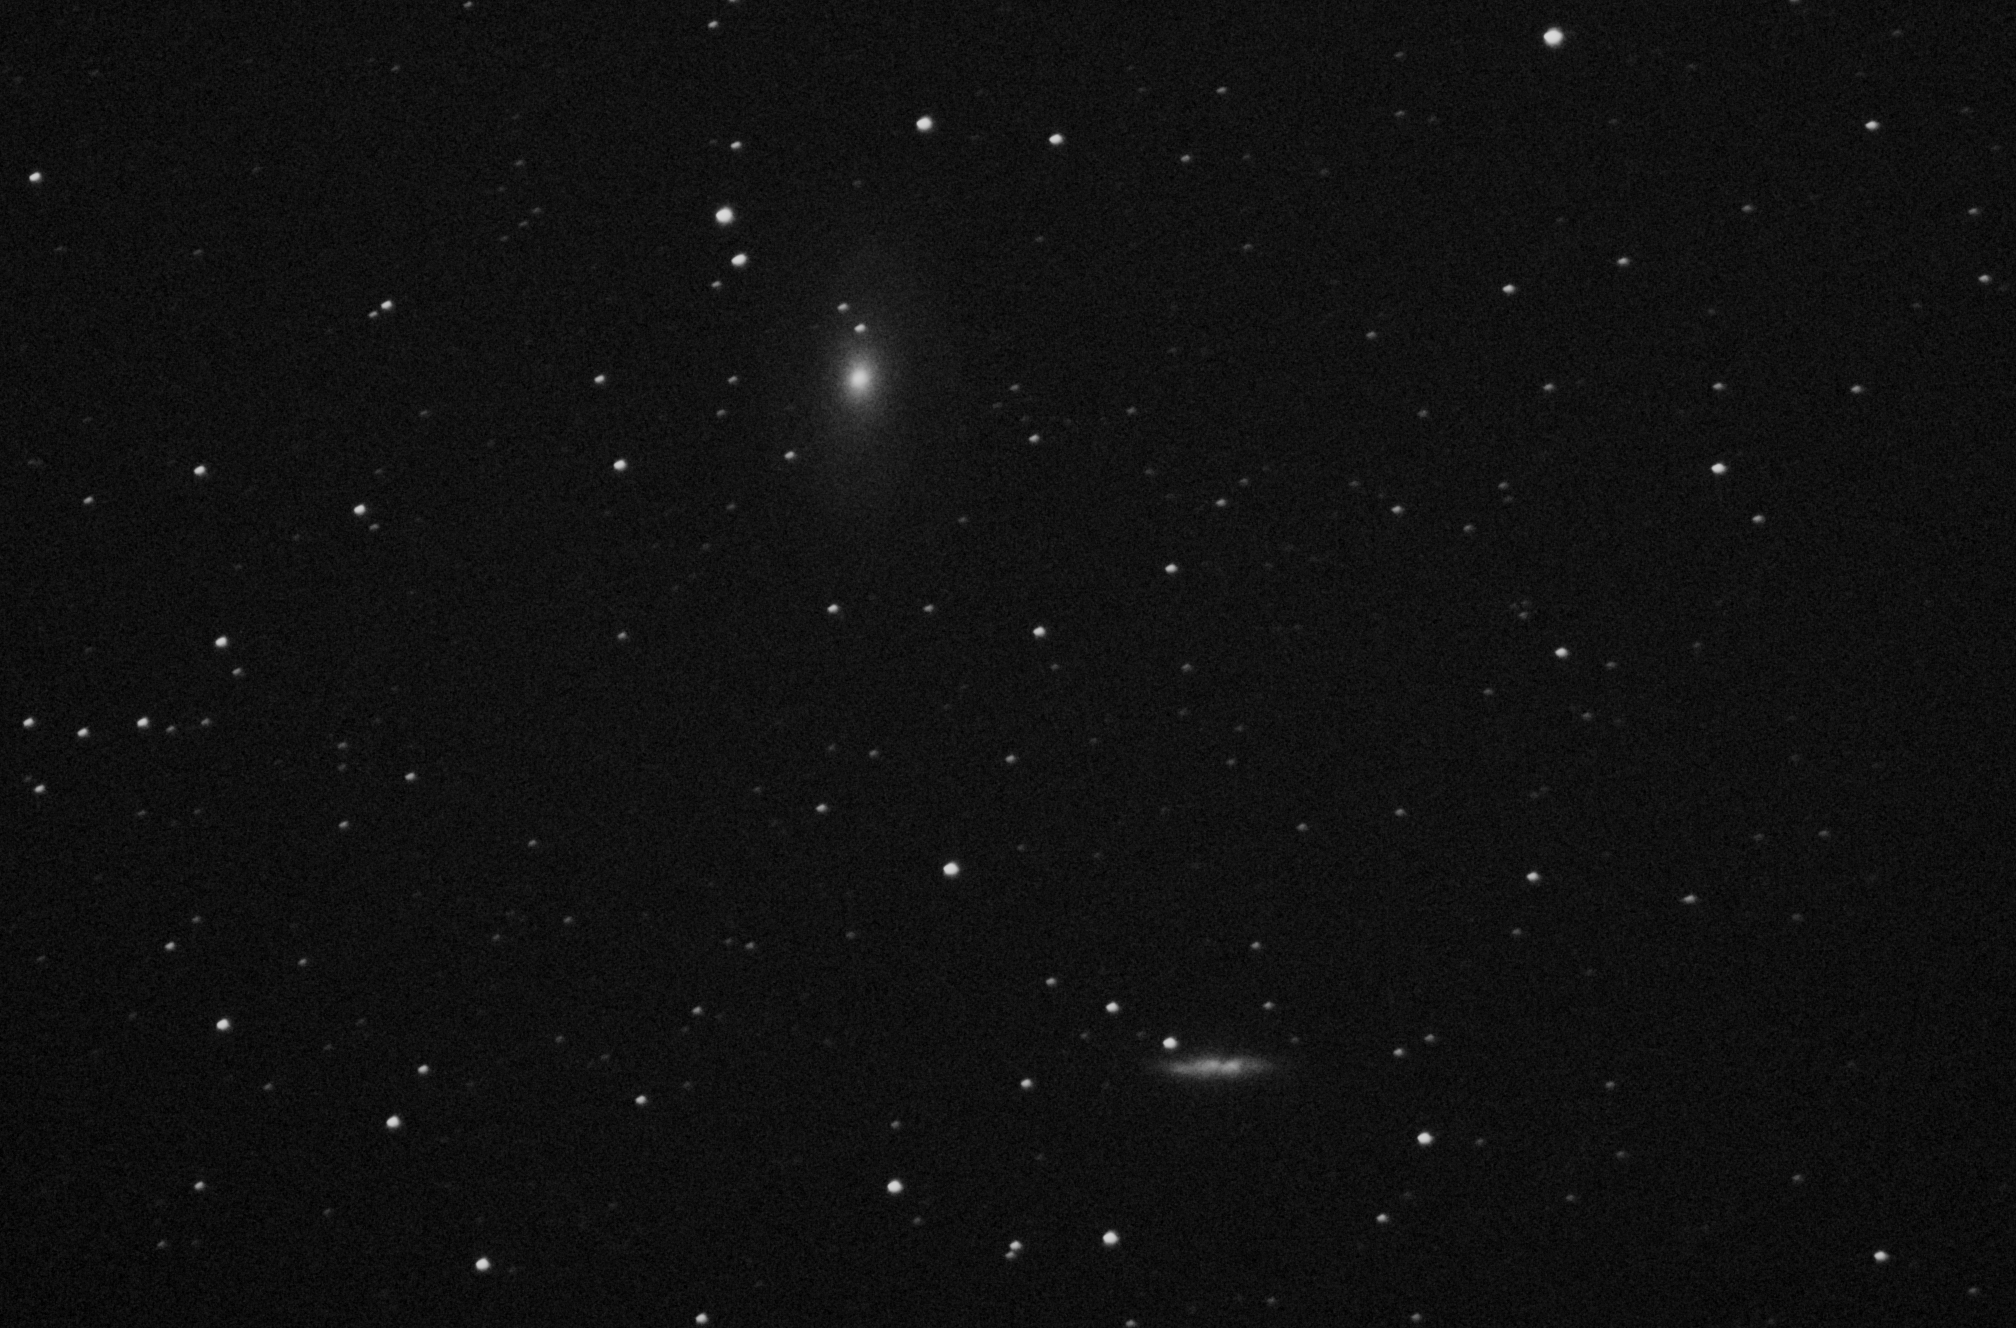
Look At Picture
After the shutter closes, check out the image.

This is one unedited photo.
Can’t make it out. That’s ok, for the first couple times it will be easily overlooked. There is a web site that can help you out. At https://nova.astrometry.net/ any astrophotography image can be uploaded. After a few minutes the photo will show up with all objects nicely labeled.
Adjust your tripod as needed till you get the object in the location desired. If the object is not there keep adjusting. All adjustments must be made slowly because it is very easy to move the camera too much and lose the object.
Take your pictures
When the perfect shot is there, zoom in slowly and focus the camera. Adjust your camera settings. As the camera becomes more zoomed in the shutter speed will have to get shorten to avoid star trails. Take your pictures with the app or an intervalometer.
If no star tracker is being used, adjustments will have to be made to the tripod every few shots to keep the galaxy centered. Using a star tracker will allow for much longer exposures and no tripod adjustments. Either way to get the best quality photo, take as many photos as possible for processing. While astrophotography stock camera lenses are not the best choice, you maybe surprised by the final images of lenses you already have.
When I finished shooting, due to bumping the tripod, there was 48 photos. Took a few darks and packed up. Now on to the stacking.
Clear Skies


